Creating a team in your system is one way you can organise users and conveniently manage a collective calendar. Team Calendars are often useful when you have multiple users that operate within the same appointment type. There are many use cases for Team Calendars. Follow these steps to learn how to create new teams which will also set up a unique calendar group.
Step 1: Set up a Team
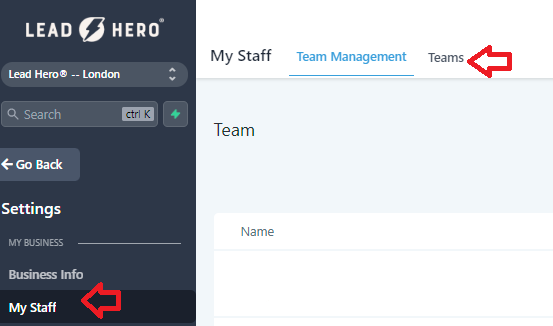
- Navigate to Settings > My Staff > Team
- Press the Button +Add Team to create a new team.
- This will open the team set up menu.
- Under ‘Team Info” choose a name for the team and select which users will be included as a part of this new team.
- Toggle on or off the option to “Apply selection change of team members to the existing calendars which got linked to this team.”
- Under “Calendar Team Configuration” provide a name and description for the team.
- Create a unique slug for the URL associated with these Team Calendars.
- Toggle on or off the option to “Assign contacts to their respective calendar team members each time an appointment is booked.” When ON, contacts will be automatically assigned to their respective team member whenever they book an appointment.
- Click Save.
- When your team has been set up, you will be directed back to the teams tab and will be able see your newly created team.
Step 2: Access the Team Calendar
- Navigate to Settings > Calendars and you’ll see the team calendar section directly linked to the team you just made.
Note: Make sure to check out our other tutorials for a detailed walkthroughs on calendar set-up.